Laravel E-Commerce Application Development – Attributes Section Part 3
This is part 12 of the Laravel E-Commerce Application Development series. In this part will add the admin section for our attribute values using VueJS.

This is part 12 of the Laravel E-Commerce Application Development series. In this part, we will add the admin section for our attribute values using VueJS.
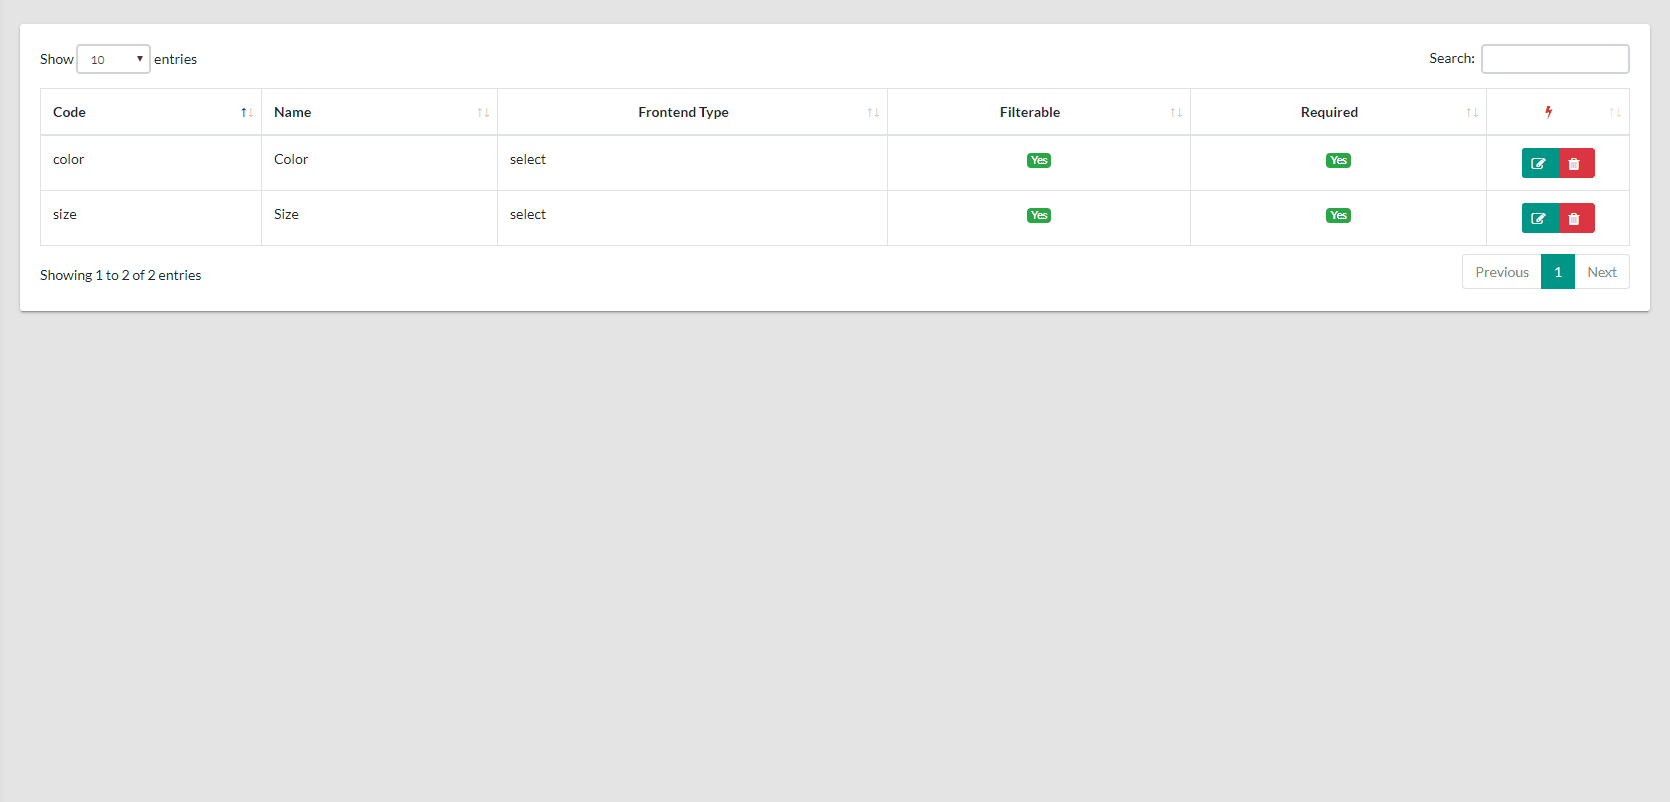
Here is the final look of what we will be coding in this post.
I assume you have some JavaScript and Laravel Mix experience. So let's start adding the attribute values section.
Updating package.json File
First thing first, we need to update the package.json file which you can find in the root of your application. Update the devDependencies section with the below one:
"devDependencies": {
    "axios": "^0.18",
    "cross-env": "^5.1",
    "laravel-mix": "^4.0.7",
    "lodash": "^4.17.5",
    "resolve-url-loader": "^2.3.1",
    "sass": "^1.15.2",
    "sass-loader": "^7.1.0",
    "vue": "^2.5.17",
    "vue-template-compiler": "^2.6.10"
},
Next, we will add the dependencies section in this file. Add the below code block in this file.
"dependencies": {
    "vue-swal": "^0.1.0"
}
In this section, we added the vue-swal plugin which we will use to show the sweet alert notifications.
Now, head over to your terminal and run the below command.
npm installThis will install all the required packages.
Updating webpack.mix.js File
Now, open the webpack.mix.js file and add the below mix function in it.
mix.js('resources/js/app.js', 'public/backend/js');This command will look for app.js file and compile it into the public/backend/js folder with the same name.
Cleaning Up Default app.js File
By default, Laravel provide two files app.js and bootstrap.js files located in resources/js folder. Delete the bootstrap.js file and update the app.js file with the below one.
window._ = require('lodash');

/**
 * We'll load jQuery and the Bootstrap jQuery plugin which provides support
 * for JavaScript based Bootstrap features such as modals and tabs. This
 * code may be modified to fit the specific needs of your application.
 */

window.Vue = require('vue');

/**
 * We'll load the axios HTTP library which allows us to easily issue requests
 * to our Laravel back-end. This library automatically handles sending the
 * CSRF token as a header based on the value of the "XSRF" token cookie.
 */

window.axios = require('axios');

window.axios.defaults.headers.common['X-Requested-With'] = 'XMLHttpRequest';

/**
 * Next we will register the CSRF Token as a common header with Axios so that
 * all outgoing HTTP requests automatically have it attached. This is just
 * a simple convenience so we don't have to attach every token manually.
 */

let token = document.head.querySelector('meta[name="csrf-token"]');

if (token) {
    window.axios.defaults.headers.common['X-CSRF-TOKEN'] = token.content;
} else {
    console.error('CSRF token not found: https://laravel.com/docs/csrf#csrf-x-csrf-token');
}

/**
 * The following block of code may be used to automatically register your
 * Vue components. It will recursively scan this directory for the Vue
 * components and automatically register them with their "basename".
 *
 * Eg. ./components/ExampleComponent.vue -> <example-component></example-component>
 */

// const files = require.context('./', true, /\.vue$/i);
// files.keys().map(key => Vue.component(key.split('/').pop().split('.')[0], files(key).default));

import VueSwal from 'vue-swal';
Vue.use(VueSwal);

//Vue.component('example-component', require('./components/ExampleComponent.vue').default);

/**
 * Next, we will create a fresh Vue application instance and attach it to
 * the page. Then, you may begin adding components to this application
 * or customize the JavaScript scaffolding to fit your unique needs.
 */

const app = new Vue({
    el: '#app'
});
Next, we will add the app id to our layout file. Open the resources/views/admin/app.blade.php file and add the HTML id attribute to the <main> block like below.
<main class="app-content" id="app">Also, add the Laravel's CSRF token in this file as well using meta tag like below.
<meta name="csrf-token" content="{{ csrf_token() }}">Now, run the below command in the terminal:
npm run watchThis command will compile the app.js file and include all the required libraries like VueJS, Axios or SweetAlert. If everything went well, you should be able to find a new app.jsfile in public/backend/js folder.
Now we are ready to use the VueJS in our application.
Creating Vue Component For Option Values
In this section, we will create an Option Values component to manage our attribute values (in common word, a CRUD component).
First thing, we need to change is our attribute edit page. Open the resources/views/admin/attributes/edit.blade.php file and add the below code right at the bottom of this file.
@push('scripts')
    <script src="{{ asset('backend/js/app.js') }}"></script>
@endpush
Next, we will add a new nav tab to show attribute values section. Update the nav tabs menu like below.
<ul class="nav flex-column nav-tabs user-tabs">
    <li class="nav-item"><a class="nav-link active" href="#general" data-toggle="tab">General</a></li>
    <li class="nav-item"><a class="nav-link" href="#values" data-toggle="tab">Attribute Values</a></li>
</ul>
Next, add a new tab section for showing our option values. Add the below code right after the general tab content.
<div class="tab-pane" id="values">
    <h3>Option Values</h3>
</div>
Now, if you run the application and try to edit an attribute. You will be able to see a new tab with name Attribute Values. Also if you open the browser console, you will find the message that VueJs has been loaded on this page.
Showing Option Value Component in Edit Page
In this section, we will add the VueJs component in our application. Create a new file in resources/js/components with name AttributeValues.vue and add the below code in this file.
<template>
    <h3>Option Values</h3>
</template>

<script>
    export default {
        name: "attribute-values",
        props: ['attributeid'],
    }
</script>
Now, open the resources/views/admin/attributes/edit.blade.php file and replace the <h3>Option Values</h3> with the below one.
<attribute-values :attributeid="{{ $attribute->id }}"></attribute-values>Next, add the below line in your resources/js/app.js file.
Vue.component('attribute-values', require('./components/AttributeValues.vue').default);Open the terminal and re-run the below command.
npm run watchIf everything goes fine, you should be able to see the component mounted in the edit view page.
Creating Routes and Controller for Option Values
So far, we have created an empty Vue component. In this section, we will add the routes and controller required for this component.
Open the admin.php route file and add the below within attributes group.
Route::post('/get-values', 'Admin\AttributeValueController@getValues');
Route::post('/add-values', 'Admin\AttributeValueController@addValues');
Route::post('/update-values', 'Admin\AttributeValueController@updateValues');
Route::post('/delete-values', 'Admin\AttributeValueController@deleteValues');
Next, we will generate the AttributeValueController using the artisan command.
php artisan make:controller Admin\AttributeValueControllerNow open the AttributeValueController file and replace with the below one.
namespace App\Http\Controllers\Admin;

use Illuminate\Http\Request;
use App\Models\AttributeValue;
use App\Http\Controllers\Controller;
use App\Contracts\AttributeContract;

class AttributeValueController extends Controller
{
    protected $attributeRepository;

    public function __construct(AttributeContract $attributeRepository)
    {
        $this->attributeRepository = $attributeRepository;
    }
}
Here we have injected the AttributeContract to use the findAttributeById() method.
Loading Option Values in VueJS Component
As you can see in our routes, our first route is defined for loading all attribute values for a given attribute id. Let's create the getValues() method in our controller.
Add the below code block, which will take the attribute id from the $request object and use the findAttributeById method from our AttributeRepository.
public function getValues(Request $request)
{
    $attributeId = $request->input('id');
    $attribute = $this->attributeRepository->findAttributeById($attributeId);

    $values = $attribute->values;

    return response()->json($values);
}
As you can see we loading the attribute and getting the values through it's hasMany relationship, then returning them as a JSON response.
Now, open the AttributeValues.vue file and replace the script section with the below ones.
export default {
    name: "attribute-values",
    props: ['attributeid'],
    data() {
        return {
            values: [],
            value: '',
            price: '',
            currentId: '',
            addValue: true,
            key: 0,
        }
    },
    created: function() {
        this.loadValues();
    },
    methods: {
        loadValues() {
            let attributeId = this.attributeid;
            let _this = this;
            axios.post('/admin/attributes/get-values', {
                id: attributeId
            }).then (function(response){
                _this.values = response.data;
            }).catch(function (error) {
                console.log(error);
            });
        },
    }
}
Let me explain the above code step by step.
Firstly, we have defined the name of this component like name: "attribute-values". Next, we have defined a props attributeid which will hold the values from our edit page where we used this component.
Next, we are defining some data properties. Next, in the created event of VueJs application, we are running the loadValues() function. In the methods sections, we have defined the loadValues() function which is making a call to Laravel's route and passing the attribute id injected by the props. On successful response, we are assigning the data returned from the controller to the values variable.
Next, we will show the attribute values loaded using the VueJS into our component template.
In the template tag of this component, add the below html markup.
<div id="">
    <div class="tile">
        <h3 class="tile-title">Option Values</h3>
        <div class="tile-body">
            <div class="table-responsive">
                <table class="table table-sm">
                    <thead>
                    <tr class="text-center">
                        <th>#</th>
                        <th>Value</th>
                        <th>Price</th>
                        <th>Action</th>
                    </tr>
                    </thead>
                    <tbody>
                    <tr v-for="value in values">
                        <td style="width: 25%" class="text-center">{{ value.id}}</td>
                        <td style="width: 25%" class="text-center">{{ value.value}}</td>
                        <td style="width: 25%" class="text-center">{{ value.price}}</td>
                        <td style="width: 25%" class="text-center">
                            <button class="btn btn-sm btn-primary">
                                <i class="fa fa-edit"></i>
                            </button>
                            <button class="btn btn-sm btn-danger">
                                <i class="fa fa-trash"></i>
                            </button>
                        </td>
                    </tr>
                    </tbody>
                </table>
            </div>
        </div>
    </div>
</div>
As you can see, we are simply rendring a HTML table. As we have loaded all the attribute values in the values variable through the axios call, in the <tr> tag we used the variable to run a loop like value in values (which in other words is a foreach loop). Then using the value variable we are printing the id, value and price for each attribute value.
Now, if you load the edit page of attribute and switch to the Attributes Values' section, you will be able to see attribute values in the table format.
Adding New Option Value
Now, we will add a form to add the attribute values to the database. For that, firstly we will create the controller method which will handle our saving request. Open the AttributeValueController and add the below method in it.
public function addValues(Request $request)
{
    $value = new AttributeValue();
    $value->attribute_id = $request->input('id');
    $value->value = $request->input('value');
    $value->price = $request->input('price');
    $value->save();

    return response()->json($value);
}
Pretty simple.
Next, we will add the HTML markup for the component. Open the component file and just above the table section add the below markup.
<div class="tile">
    <h3 class="tile-title">Attribute Values</h3>
    <hr>
    <div class="tile-body">
        <div class="form-group">
            <label class="control-label" for="value">Value</label>
            <input
                class="form-control"
                type="text"
                placeholder="Enter attribute value"
                id="value"
                name="value"
                v-model="value"
            />
        </div>
        <div class="form-group">
            <label class="control-label" for="price">Price</label>
            <input
                class="form-control"
                type="number"
                placeholder="Enter attribute value price"
                id="price"
                name="price"
                v-model="price"
            />
        </div>
    </div>
    <div class="tile-footer">
        <div class="row d-print-none mt-2">
            <div class="col-12 text-right">
                <button class="btn btn-success" type="submit" @click.stop="saveValue()" v-if="addValue">
                    <i class="fa fa-fw fa-lg fa-check-circle"></i>Save
                </button>
                <button class="btn btn-success" type="submit" @click.stop="updateValue()" v-if="!addValue">
                    <i class="fa fa-fw fa-lg fa-check-circle"></i>Update
                </button>
                <button class="btn btn-primary" type="submit" @click.stop="reset()" v-if="!addValue">
                    <i class="fa fa-fw fa-lg fa-check-circle"></i>Reset
                </button>
            </div>
        </div>
    </div>
</div>
In this markup, we are adding a field to enter the value for attribute and using the v-model to bind the value variable to this field. Next, we added a input field and bind that input field to the price variable.
In the footer, we are showing three button, all of them will not be visible at the same time. Earlier, we added a boolen variable addValue and set it to true. Using the v-if directive, we are controlling the display of theses buttons.
If the addValue is true, we show the save button, else we show the update and reset button. Each button has its own method which will be fired when we click on them.
Next, we will add the saveValue() which will be fired when we hit save button. In the methods object, just after the loadValues() method, add the below method.
saveValue() {
    if (this.value === '') {
        this.$swal("Error, Value for attribute is required.", {
           icon: "error",
        });
    } else {
        let attributeId = this.attributeid;
        let _this = this;
        axios.post('/admin/attributes/add-values', {
            id: attributeId,
            value: _this.value,
            price: _this.price,
        }).then (function(response){
            _this.values.push(response.data);
            _this.resetValue();
            _this.$swal("Success! Value added successfully!", {
                icon: "success",
            });
        }).catch(function (error) {
            console.log(error);
        });
    }
},
In this method, we first check if the value is empty then show the alert, if not then we are submitting the form data and attribute id using the axios service. On success, we push the newly added attribute value object to values array and reset the values using the resetValue() method.
resetValue() {
    this.value = '';
    this.price = '';
},
reset() {
    this.addValue = true;
    this.resetValue();
}
Editing Option Value
For editing, we will add the editAttributeValue() method to edit button in our table like below.
<button class="btn btn-sm btn-primary" @click.stop="editAttributeValue(value)">
    <i class="fa fa-edit"></i>
</button>
Here, is the code which will be triggered on this button click.
editAttributeValue(value) {
    this.addValue = false;
    this.value = value.value;
    this.price = value.price;
    this.currentId = value.id;
    this.key = this.values.indexOf(value);
},
In this method, firstly we are setting the addValue to false, so we can replace the save button with the update one. Then setting the value and price to the current attribute value. Also we are setting the currentId with the value id and the key to the index of this object within values array.
Now, in our controller we will add the updateValue() method.
public function updateValues(Request $request)
{
    $attributeValue = AttributeValue::findOrFail($request->input('valueId'));
    $attributeValue->attribute_id = $request->input('id');
    $attributeValue->value = $request->input('value');
    $attributeValue->price = $request->input('price');
    $attributeValue->save();

    return response()->json($attributeValue);
}
In the above method, we find the attribute value and update with the new ones.
When we click on the update button, updateValue() will be fired. Let's add that.
updateValue() {
    if (this.value === '') {
        this.$swal("Error, Value for attribute is required.", {
            icon: "error",
        });
    } else {
        let attributeId = this.attributeid;
        let _this = this;
        axios.post('/admin/attributes/update-values', {
            id: attributeId,
            value: _this.value,
            price: _this.price,
            valueId: _this.currentId
        }).then (function(response){
            _this.values.splice(_this.key, 1);
            _this.resetValue();
            _this.values.push(response.data);
            _this.$swal("Success! Value updated successfully!", {
                icon: "success",
            });
        }).catch(function (error) {
            console.log(error);
        });
    }
},
In this method, we again checking for the value if its not empty then passing the data to axios service which will send the POST request to AttributeValueController controller. On success, we remove the current attribute value object from the values array using splice method by passing the index key of the array.
Then resetting the form and pushing the newly updated object back to values array.
Deleting Option Value
When we click on the delete button in our attribute values table, deleteAttributeValue() method will be fired so let's add that.
deleteAttributeValue(value) {
    this.$swal({
        title: "Are you sure?",
        text: "Once deleted, you will not be able to recover this attribute value!",
        icon: "warning",
        buttons: true,
        dangerMode: true,
    }).then((willDelete) => {
        if (willDelete) {
            this.currentId = value.id;
            this.key = this.values.indexOf(value);
            let _this = this;
            axios.post('/admin/attributes/delete-values', {
                id: _this.currentId
            }).then (function(response){
                if (response.data.status === 'success') {
                    _this.values.splice(_this.key, 1);
                    _this.resetValue();
                    _this.$swal("Success! Option value has been deleted!", {
                        icon: "success",
                    });
                } else {
                    _this.$swal("Your option value not deleted!");
                }
            }).catch(function (error) {
                console.log(error);
            });
        } else {
            this.$swal("Your option value not deleted!");
        }
    });
},
In this method, firstly we are showing an alert box with a confirmation. Then we are sending the request to our controller to delete the attribute value using axios service. On success, we are removing the deleted object from the values array using splice method by passing the index key.
Here is the method for our controller.
public function deleteValues(Request $request)
{
    $attributeValue = AttributeValue::findOrFail($request->input('id'));
    $attributeValue->delete();

    return response()->json(['status' => 'success', 'message' => 'Attribute value deleted successfully.']);
}
Pretty simple.
Conclusion
That’s it for now, in the next post we will start to continue working on the new section. I have tried to keep this post, as simple as possible, if you encounter any problems then refer to the repository of this project.
Code Repository
You can find the code base of this series on Laravel eCommerce Application repository.
If you have any question about this post, please leave a comment in the comment box below and I will try my best to answer your questions.